Teach Your Kids How AI Works in 20 Minutes by Building a Tidy-Room Detector
Use a free browser tool to help your child build a real image classifier and learn the fundamental concept that shapes all of modern AI.
What matters today
Use a free browser tool to help your child build a real image classifier and learn the fundamental concept that shapes all of modern AI.
Key points
- The 20-Minute AI Builder Project
- Step 1: Set Up Your AI Project
- Step 2: Gather Your Training Data
- Step 3: Train and Test Your Model
- Step 4: Explore Failure and Improvement
What you'll learn in this article:
- How to guide your child to build a working AI image model in under 20 minutes, for free.
- A simple way to explain training data, classes, and confidence scores.
- How to use model failures (like changing the lighting) as powerful teaching moments.
- A specific chatbot prompt to extend the learning and explain AI bias.
Kids interact with AI constantly. It powers their video feeds, suggests their next song, and populates their games with intelligent characters. They are expert users of AI-driven systems, but almost none of them understand the simple, powerful idea that makes it all work. They are consumers, not builders.
This activity changes that. In about 20 minutes, you can guide a child from age 8 to 16 to build their own functioning AI model. They will not write a line of code. Instead, they will do something far more important: they will teach a machine how to see the world.
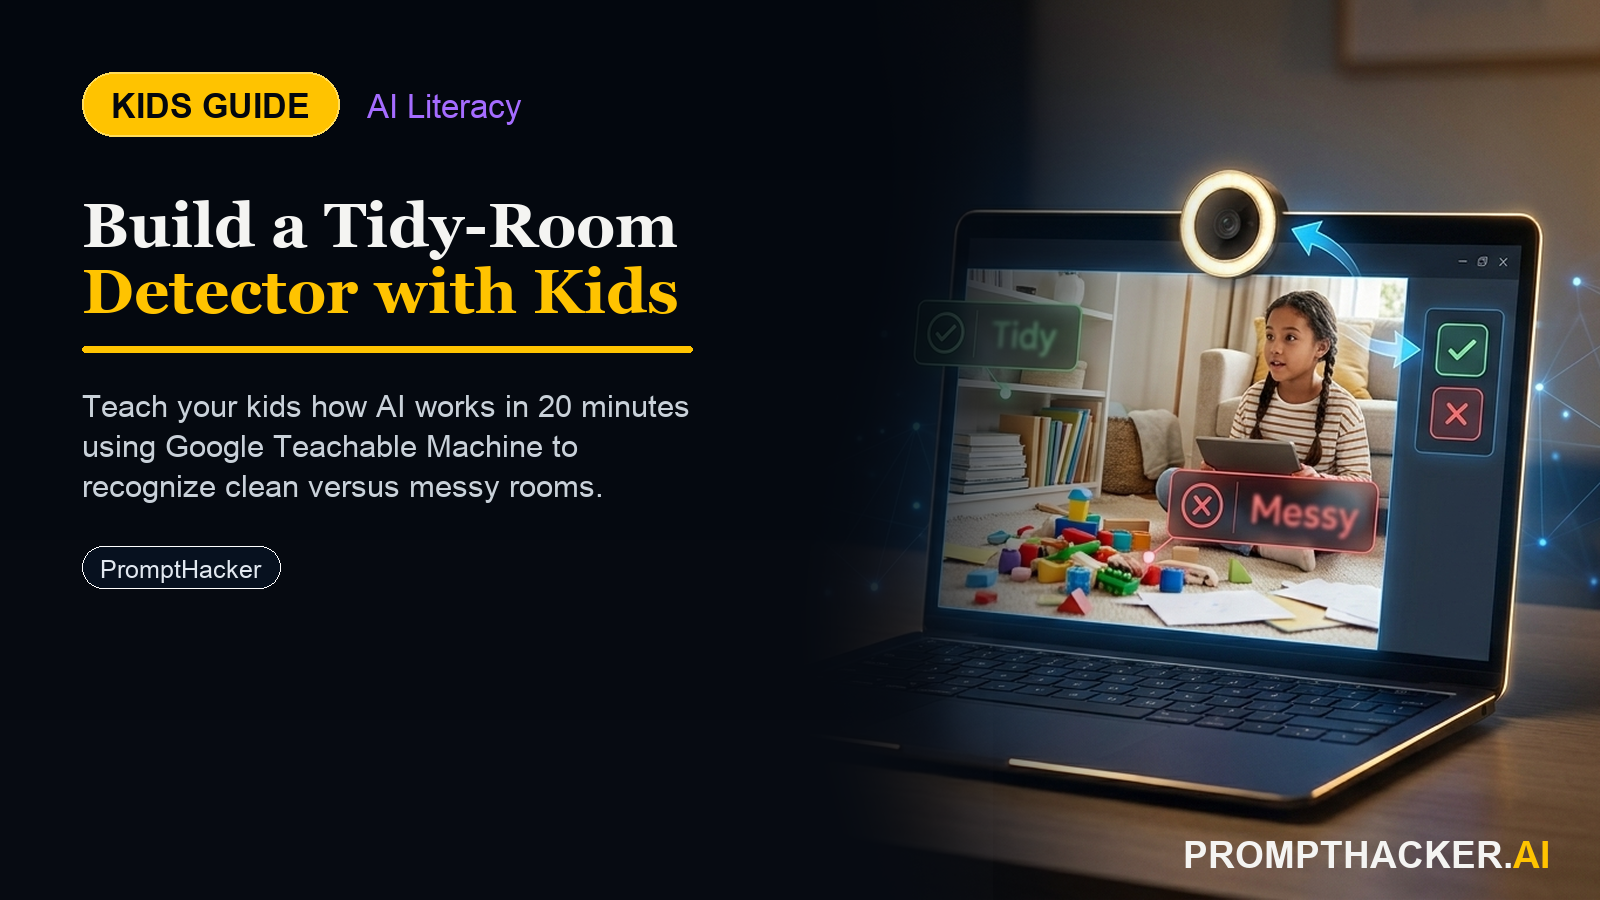
The project is simple: build an AI that can tell the difference between a tidy room and a messy one. In doing so, your child will learn the single most critical concept in artificial intelligence: a model knows only what it is shown. This is not just a fun project. It is a foundational lesson in AI literacy.
The 20-Minute AI Builder Project
This project uses Google's Teachable Machine, a free tool that runs entirely in a web browser. No accounts or sign-ups are needed, and the images used for training stay on the local device, never uploaded to Google. It is a safe, contained environment for a first-time AI builder.
An adult should guide the first session to explain the concepts. The goal is not just to build the detector but to understand why it works and, more importantly, why it sometimes fails.
Step 1: Set Up Your AI Project
First, navigate to the Teachable Machine website. Click the "Get Started" button, which takes you to the project selection screen.
Choose "Image Project". On the next screen, select "Standard image model". This whole setup takes less than 30 seconds. You will see an interface with blocks for "Class 1" and "Class 2". These "classes" are the categories you will teach the AI to recognize. Think of them as labels for your photo collections.
Rename "Class 1" to "Tidy" and "Class 2" to "Messy" by clicking the pencil icon next to each name. The machine is now ready to learn.
Step 2: Gather Your Training Data
This is the most important step. The AI learns by example, so you need to provide it with good ones. The "teacher" in this process is the person choosing the photos.
Under the "Tidy" class, click "Webcam". A live video feed from your device's camera will appear. Find a tidy spot in the room, like a well-made bed, a clean desk, or an organized bookshelf. Capture about 30 to 40 photos by clicking and holding the "Hold to Record" button. Move the camera slightly between each shot to get different angles and perspectives of the same tidy scene.
Next, do the same for the "Messy" class. Find a cluttered corner, a pile of clothes on a chair, or a disorganized desk. Capture 30 to 40 photos of this messy scene. The key is to provide a clear contrast between the two classes.
Step 3: Train and Test Your Model
Once you have your two sets of images, click the large "Train Model" button. The process is fast, usually taking less than a minute. Do not switch tabs while the model is training.
When training is complete, the "Preview" window on the right will activate, showing a live feed from your webcam. Below the feed, you will see output bars for "Tidy" and "Messy" with percentage scores. This is your AI model running live.
Point the camera back at the tidy spot you used for training. The "Tidy" bar should shoot up to 90 percent or higher. Then, point it at the messy spot. The "Messy" bar should do the same. This is the moment of success, where the child sees their teaching has paid off. Now, encourage them to test it on new areas of the room to see how well it generalizes.
Step 4: Explore Failure and Improvement
The most valuable lessons come when the AI fails. Now, try to confuse your model.
Point the camera at the same tidy desk, but turn off the room lights so it is only lit by the screen. The model's confidence will likely plummet. It might even incorrectly classify the scene as messy. This is a critical teaching moment. The AI does not understand "tidiness". It only understands the patterns of pixels in the 30 photos it was shown. Since it never saw a "Tidy" scene in the dark, it has no idea how to classify it.
Try another experiment. Show it a tidy part of the kitchen. Again, it will likely fail. Its entire knowledge of "Tidy" is based on a specific bedroom scene. This demonstrates the narrowness of a model's training.
For Parents and Educators
Conversation Starters:
- "What do you think the computer is 'seeing' in the messy pictures that is different from the tidy ones? Is it the lines, the colors, the number of objects?"
- "If we only showed it pictures of a messy bedroom, could it ever recognize a tidy kitchen? Why not?"
- "What would happen if our definition of 'tidy' was what someone else calls 'messy'? Whose version would the AI learn?"
Core AI Concept: The AI model's entire understanding of the world is based only on the training examples it was given. It has no external knowledge or common sense.
Step 5: Add a Third Class to Improve Nuance
To demonstrate how more data creates a better model, add a third category. Click "Add a class" and name it "Halfway Tidy".
Find a scene that is neither perfectly neat nor a complete disaster, perhaps a desk with just a couple of books on it. Use the webcam to capture 30 photos for this new class. Click "Train Model" again.
Now, when you test the model, it has a third option. Point the camera at the "Halfway Tidy" scene and watch its confidence score rise for that class. You have given the AI more nuance. It can now distinguish between three states instead of just two, making it a more capable tool. This directly shows how better, more specific data creates a more useful AI.
The AI Extension: Explaining the "Why"
To connect this hands-on lesson with a clear explanation, use a free chatbot like ChatGPT or Claude. This step helps the child articulate what they discovered and get it reinforced.
Use the following prompt. It summarizes the experiment and asks for a simple explanation, mirroring a real-world scenario where a junior team member asks a senior colleague for clarification.
THE PROMPT
"I trained an image model to tell tidy from messy using 30 example photos of each. It gets confused when the lighting changes. Explain in kid-friendly terms why more varied training photos would help, and suggest three new kinds of photos to add."
The chatbot's response will explain that the model needs to see examples of "tidy in the dark" and "tidy in bright light" to learn that tidiness is independent of lighting. It will likely suggest adding photos taken at night, with lamps on, and from different angles. This confirms the child's own findings and gives them a clear path to improving their model.
This simple exercise closes the loop. The child moves from being a passive user of AI to an active builder and teacher. They learn the foundational concept of training data, witness how its limitations create failure, and use a second AI tool to understand how to improve their first creation.
Action Steps Summary
- Prepare the Project. Open Google Teachable Machine in a browser. Start a new Standard Image Project and prepare two classes, "Tidy" and "Messy".
- Create Training Data. Use your device's webcam to capture 30 to 40 example photos for each class. Use distinct locations or states (e.g., a made bed vs. an unmade bed) to create clear training sets.
- Train and Test. Click the "Train Model" button. Once trained, use the live preview window to test the model's accuracy by pointing the camera at different scenes.
- Teach Through Failure. Intentionally show the model new situations it has not been trained on, such as different lighting conditions or completely new rooms, to demonstrate the limitations of its training data.
- Extend the Learning. Use the provided chatbot prompt to get a simple, clear explanation of why varied and comprehensive training data is critical for building a useful AI model.
Three deep dives. Four useful moves. One email worth opening.
PromptHacker turns the AI firehose into practical next steps for work, health, family, and everything time keeps trying to steal.